On Sala, there are three types of concerts an Artist profile can host:
- Public concerts – registered Sala users can join at no cost
- Private concerts – Artist invites select Sala users to join
- Premium concerts – registered Sala users can join after they buy a ticket (price set by artist)
Creating a Concert
To create a concert:
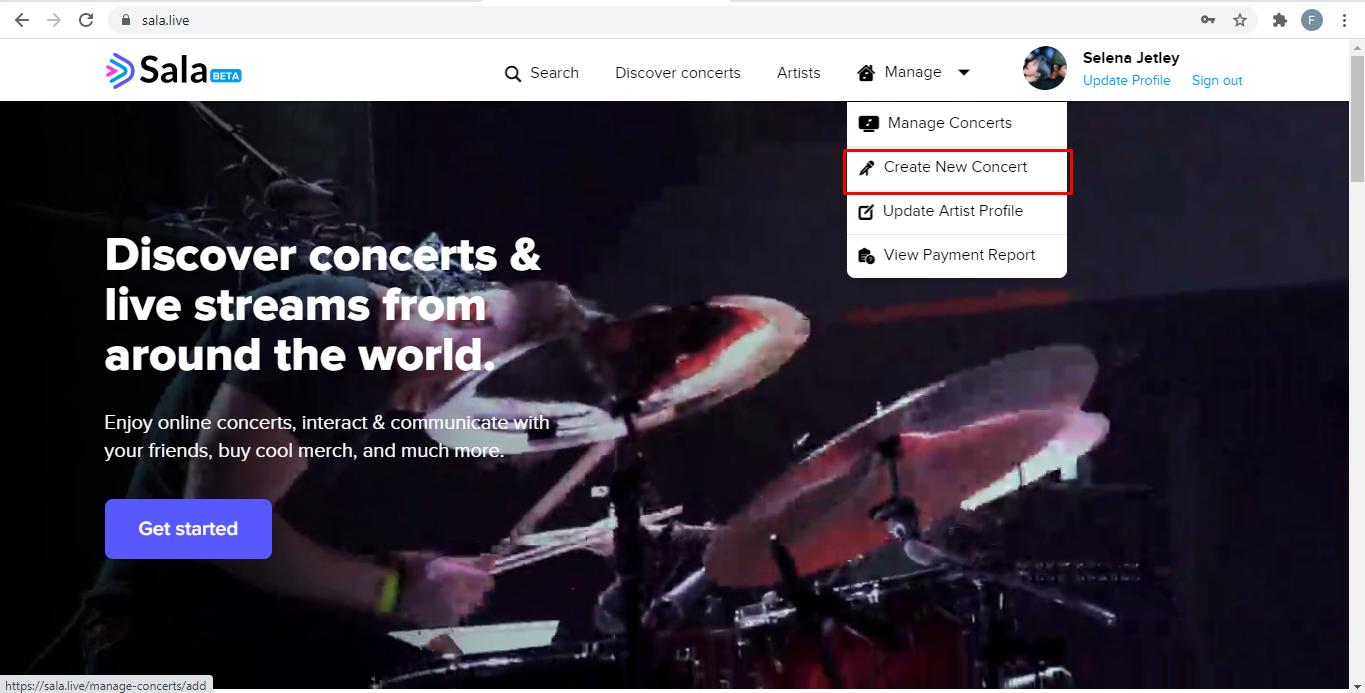
- Sign in using your artist account
- Click on Create New Concert in the Manage dropdown at the top. You will be directed to the Concert Setup page.

- Enter all information relevant to the concert on this page such as Concert Title, Artist/s, Genre/s, location, and time-related details.
- Please note that if you mention a future date in the Announce & Publish field, your concert will be Scheduled on approval of the concert from Admin and will not be Published until the publish date.
- Note: The time selection is 24 hrs clock if you want the concert to end at 3 pm select 15:00 in our clock
- Also, the time zones are important as well, the end time of the concert that you select will be for your chosen time zone
- Artists can link their PayPal accounts to receive ticket revenue as well as donations during the concert. Furthermore, artists can also add a merchandise link which will show that will route attendees to artists merchandise website.
- You can also force publish any scheduled concert as an artist.
- Choose a particular concert type from the Concert Type dropdown (For the purpose of the demo, we would suggest creating a public concert)
- In case of a private concert, add the already registered attendee by typing the name for the attendee and it will search the system and will give you the attendee present in the system as a suggestion and you can select that and that’s it, the attendee will be added.
- You can also invite people who are not yet part of the SALA platform. Under the field “ATTENDEE OUTSIDE SALA PLATFORM”, enter emails of all the attendees you want to invite who are not on SALA yet. This will trigger an email upon concert approval and the attendee will then need to just set their password and can enjoy the concert.

- In the case of a premium concert, mention its ticket price.
- You can also mention from which date you want to start and end the sale of your ticket (Note: Ticket On-Sale date can be set after the publish date of the concert and Ticket Off Sale date can be set till the ending of the concert date).
- Click Save and Continue. You’ll be directed to the Media & Information section.
- Complete the Media & Information section of the concert by providing the concert thumbnail (used to show the concert’s image on the Discover Concerts page), concert description, and concert cover photo.
- Click Save and Continue to move to the final section of concert creation. You’ll be directed to the Finish and Publish page.
- Here you will be able to see an overview of the concert.
- In case you need to go back and change any details, click Go Back at the bottom right next to Save Draft.
- You may also click Save Draft at any point to continue concert creation from that point onwards in the future.
- Click on Finish to complete the creation process.
- Once done, your concert will be sent to the Admin Portal awaiting due approval and will be as “In review”
How to start a concert?
NOTE: To host a concert, you need to have OBS pre-installed on your system.
To proceed:
- Go to the Manage Concerts page.
- Click on the Start Concert button on the concert that you want to start. You will be directed to the Start Concert page.

- On the Start Concert page, copy the Server link and Stream Key in respective text fields.

- Open the OBS application on your system.
- If you have Windows installed, do the following:
- Click on Settings in the File menu on the top left.
- In the Settings popup, click on Stream.
- Now paste the Server and Stream Key here and click on apply and close the popup.
- Now click on Start Streaming from the bottom right column.
Video Link: https://www.loom.com/share/8126c6f5b5d4468d8649adb65eb1c5cb
- If you have macOS installed, do the following:
- Click on File from the top left and select Preferences.
- In the Preferences popup, click on Stream.
- Now paste the Server and Stream Key here and click on apply and close the popup.
- Now click on Start Streaming from the bottom right column.
Video Link: https://www.loom.com/share/406727e1f9464bf08caabd6e4b7fafe2
- Now come back to the Start Concert page and click on the Open Doors button.
- You are now streaming live on the Sala platform, Enjoy!
Spotlight Management:
- The Spotlight management is an automated process, every attendee who has their camera ON qualifies for the spotlight section.
- The system will pick the first attendee and will place it in the Spotlight position. After this, an automated countdown will keep on shuffling different attendees in the spotlight position.

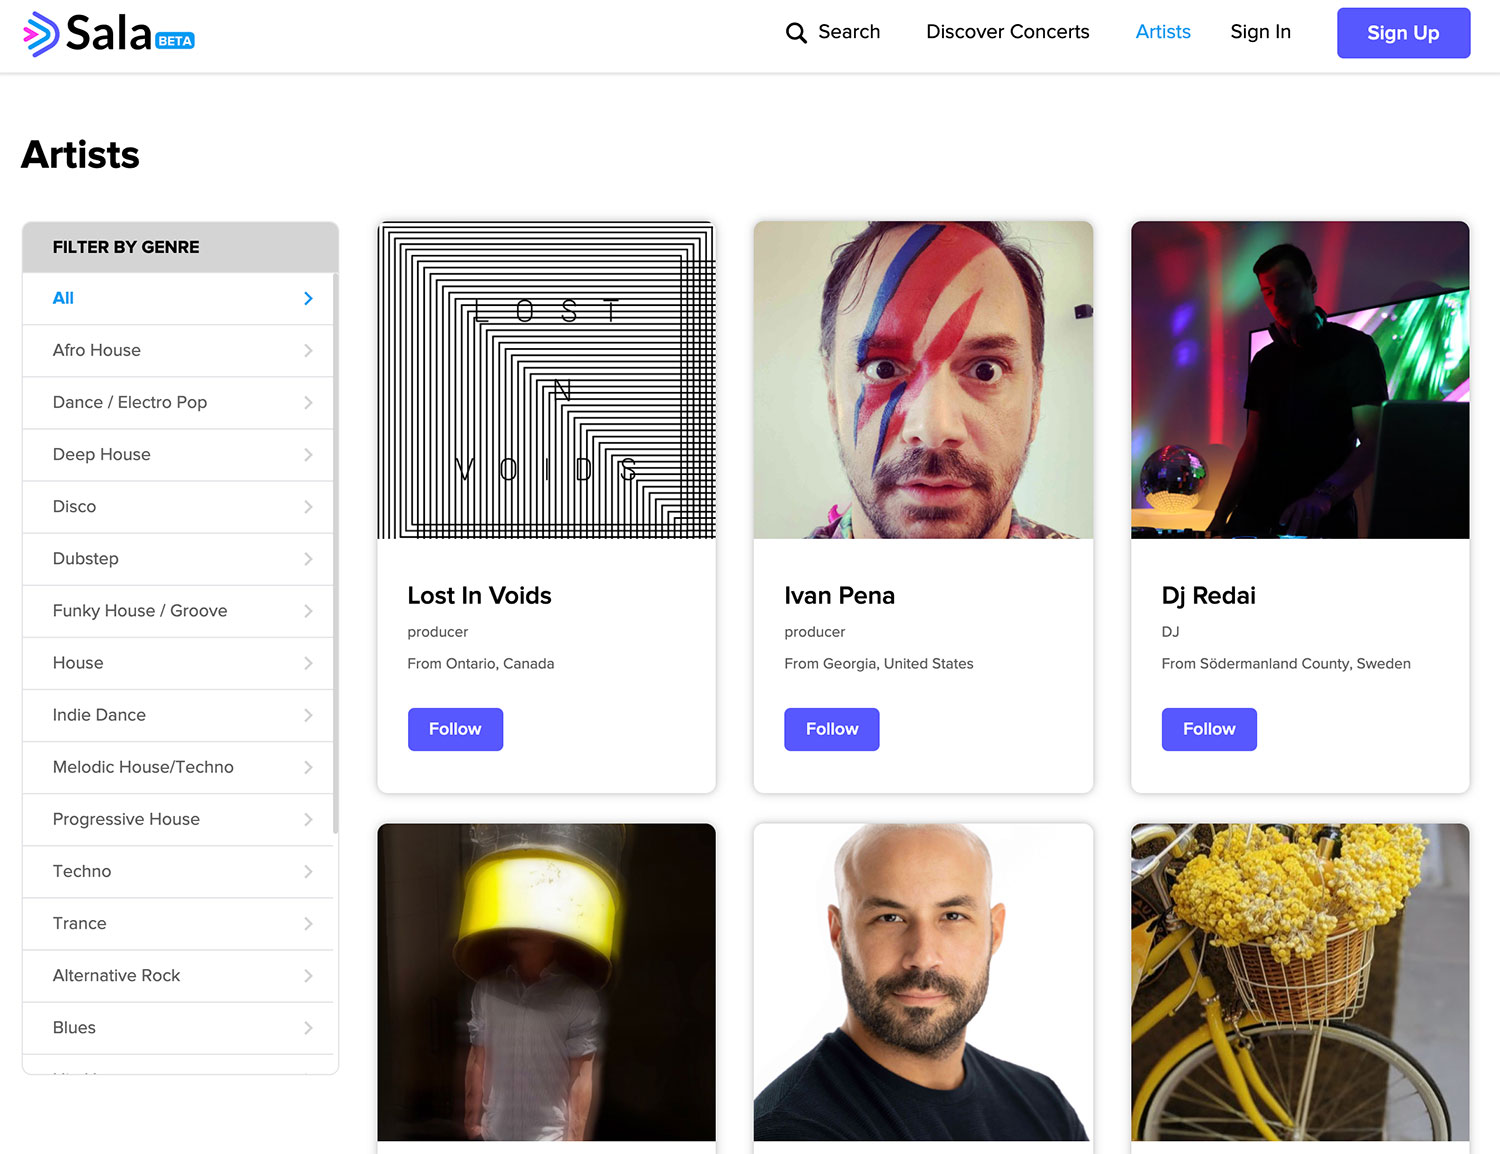
Check out all scheduled concerts on Sala.Live!